|
A mandala is a circular picture which each peace is rotated to make a design. My mandala was made by opening a picture and white template with a circle on it. Then you use your magic brush tool to select on of the triangles. Then you pull the picture out of photoshop to use the move tool to drag the triangle over to the picture. When you have the spot you want hit command C to copy the image and then put the picture back into photoshop. When you have gotten back to the circle you hit command V to paste the image. Then you rotate and merge layers also if you cant get the triangle close enough to the other one use your arrow keys to help the pieces fit together. When your done merge all the layers and save as a jpg. My favorite image was the paint brush one because it just turned out really detailed. The Hardest part was making sure all the pieces fit perfectly. If I had to do it over again I would have used different pictures.
0 Comments
This the Original picture What is a Tessellation? A tessellation is a repetition of a picture rotated to make a pattern. Tessellation is made by picking a part of a picture. Then open a white layer box and opening the picture in photoshop. Then you put guides on the white sheet to make it easier to line up the picture. The image must be a square such as a 1:1 or 2:2. The guides must also match the size of the picture. Then you pull the picture out of photo shop and drag it onto the white sheet. Then you can rotate and use vertical and horizontal to move the picture. To make it easier marge the layers by selecting the layers you want by holding down command and selecting merge layer. Then you just duplicate the two merged layers. Once your don move all the guides and make sure there are not any white lines. In the end merge all the layers and save as jpeg. My favorite image was the one of Milo jumping because of how bright the colors are. I struggled with rotating the picture the right direction. If i did it over again I would go to the beach and use waves as my tessellation.
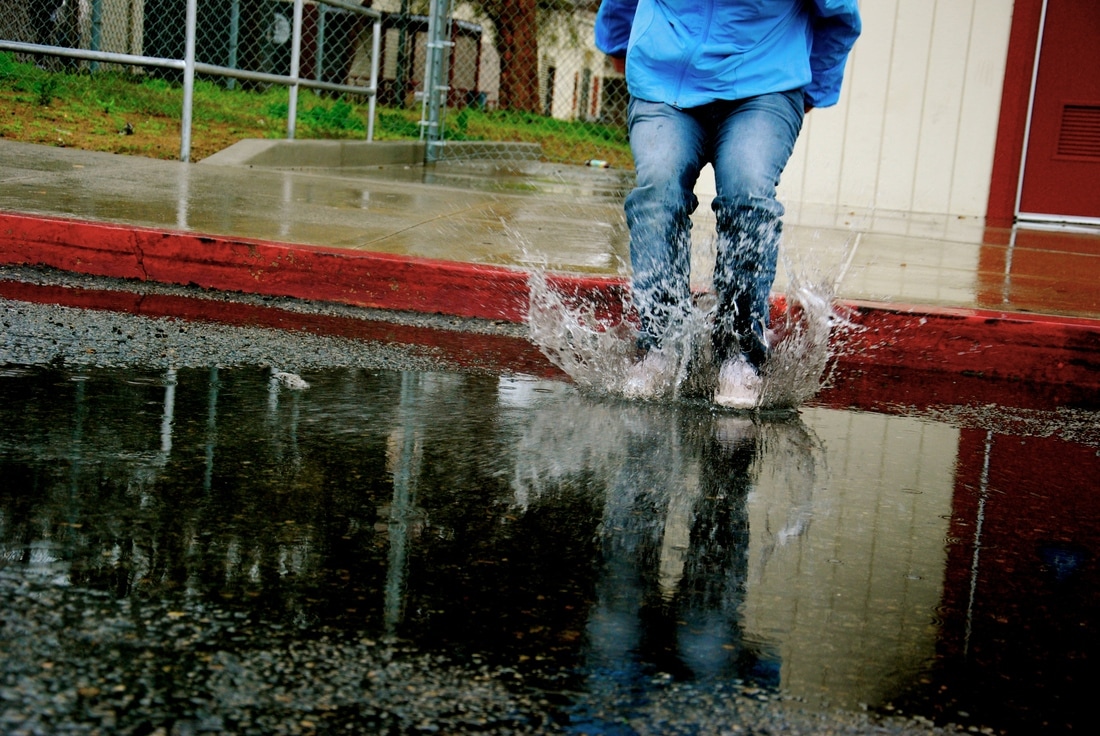
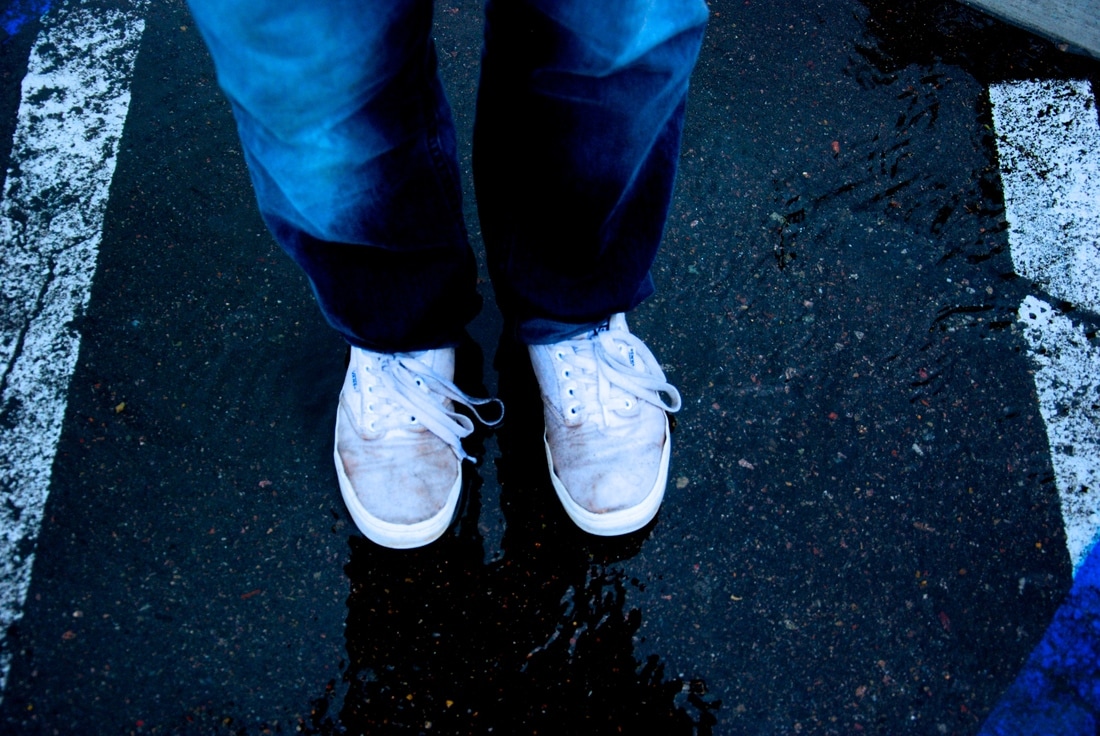
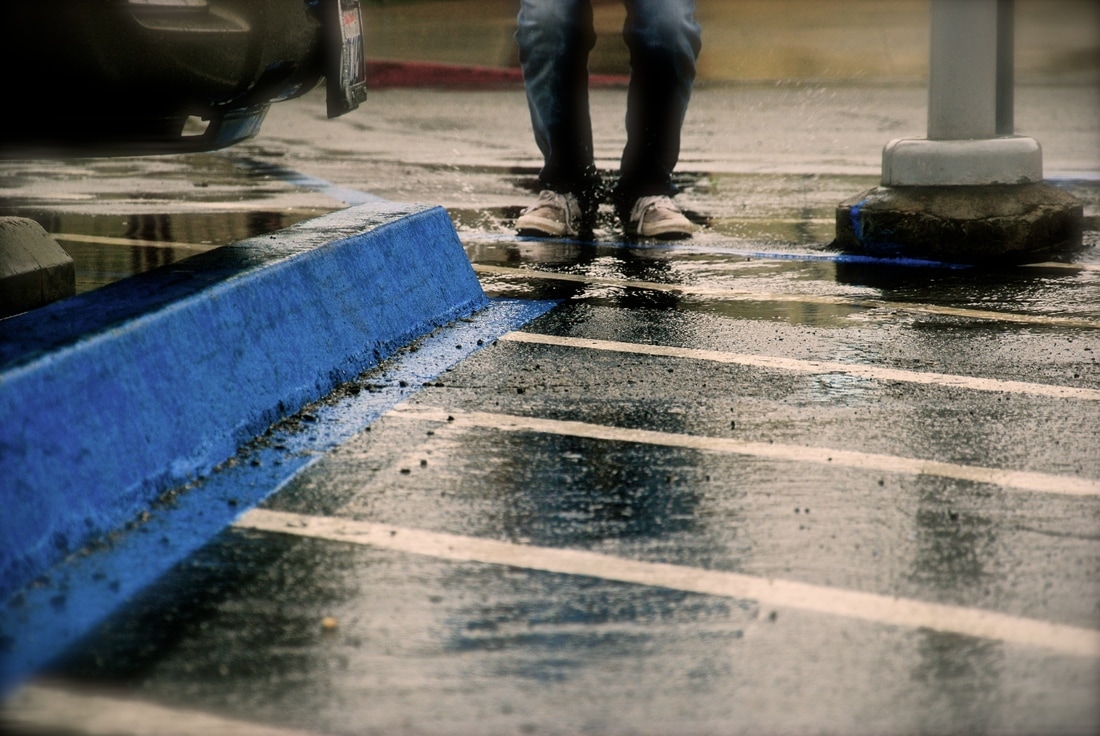
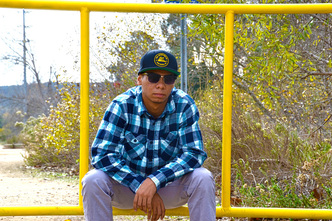
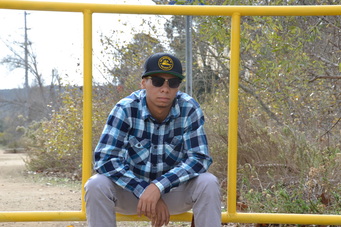
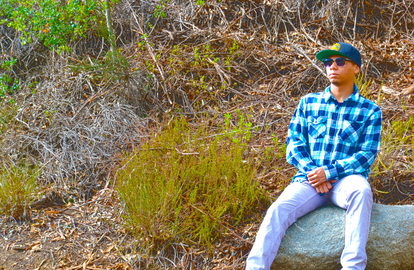
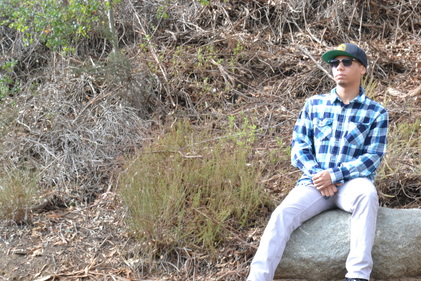
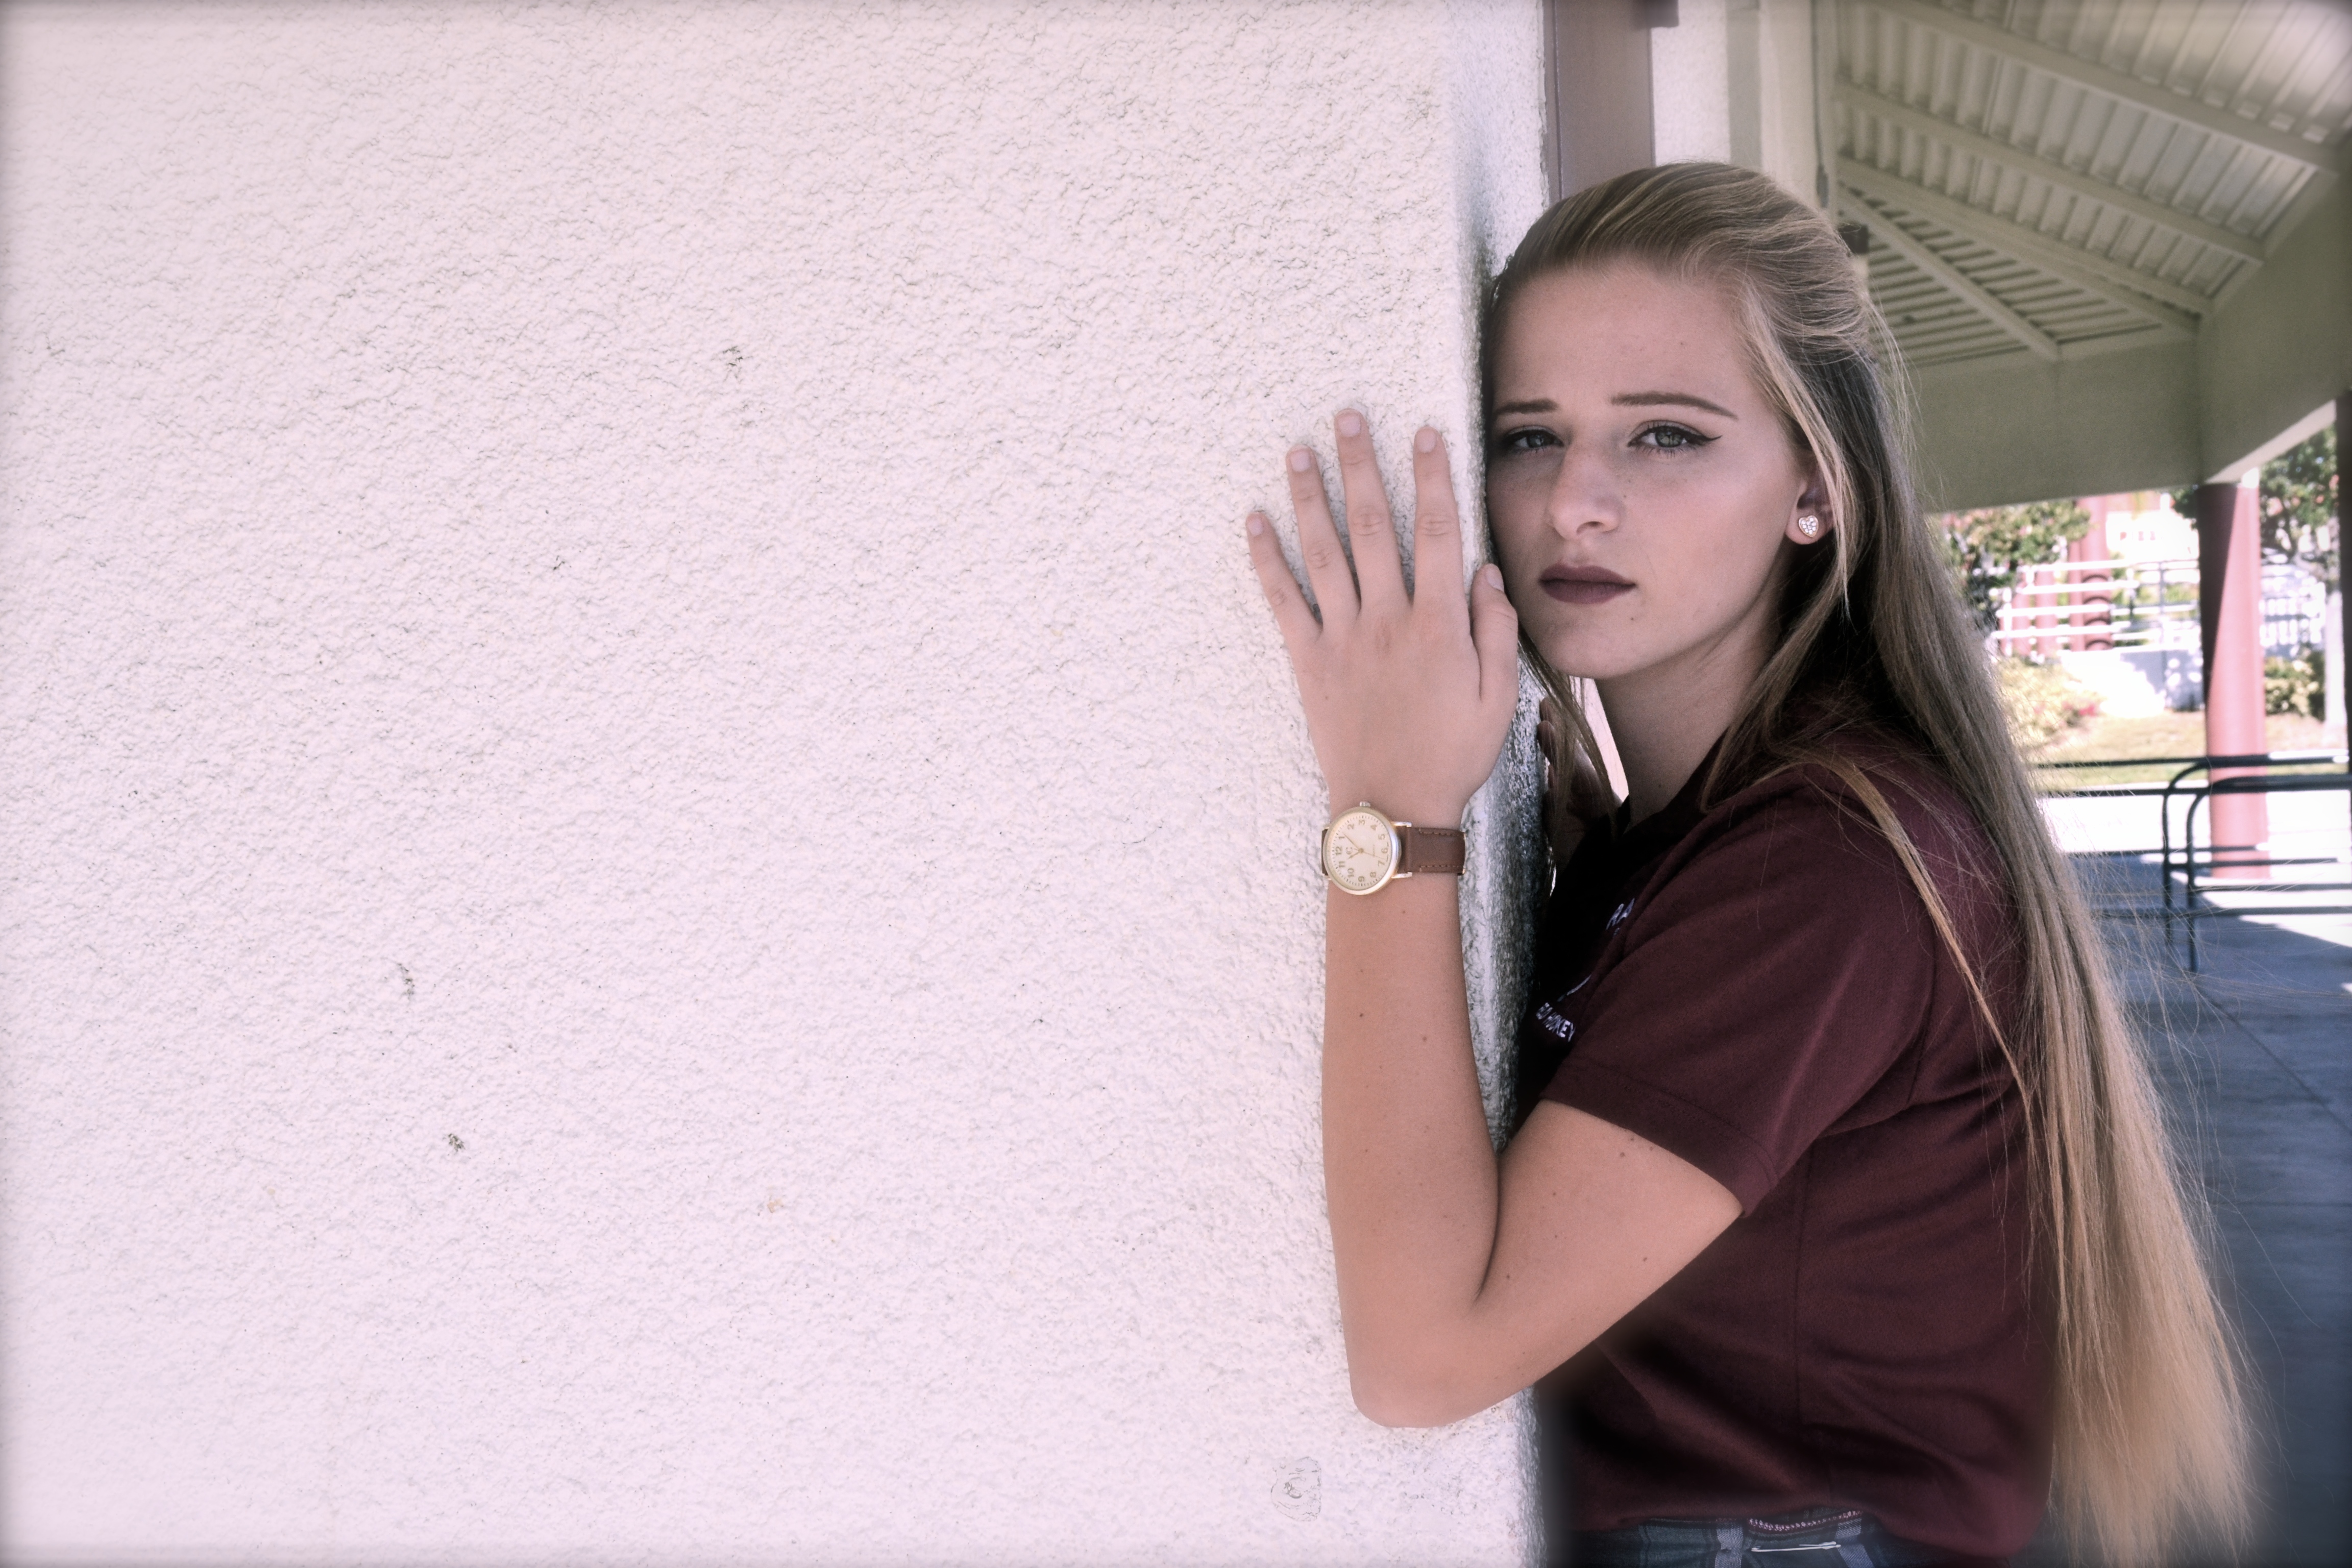
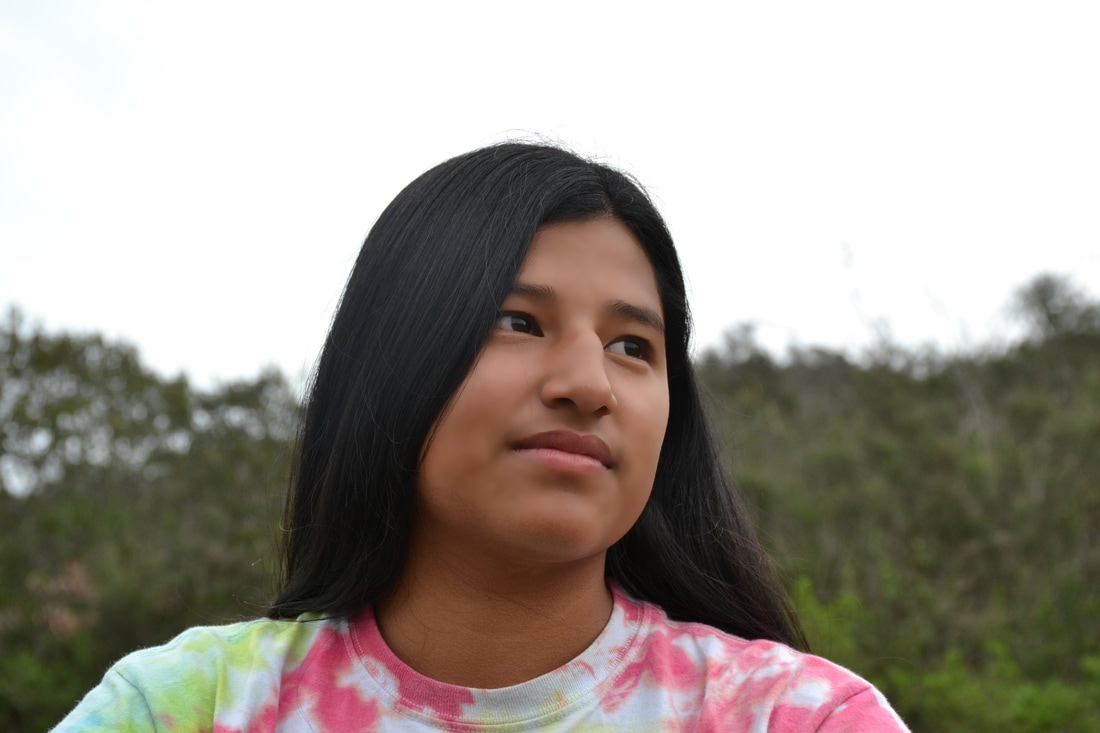 ISO 400, Aperture: f/8, and Shutter: 1/500 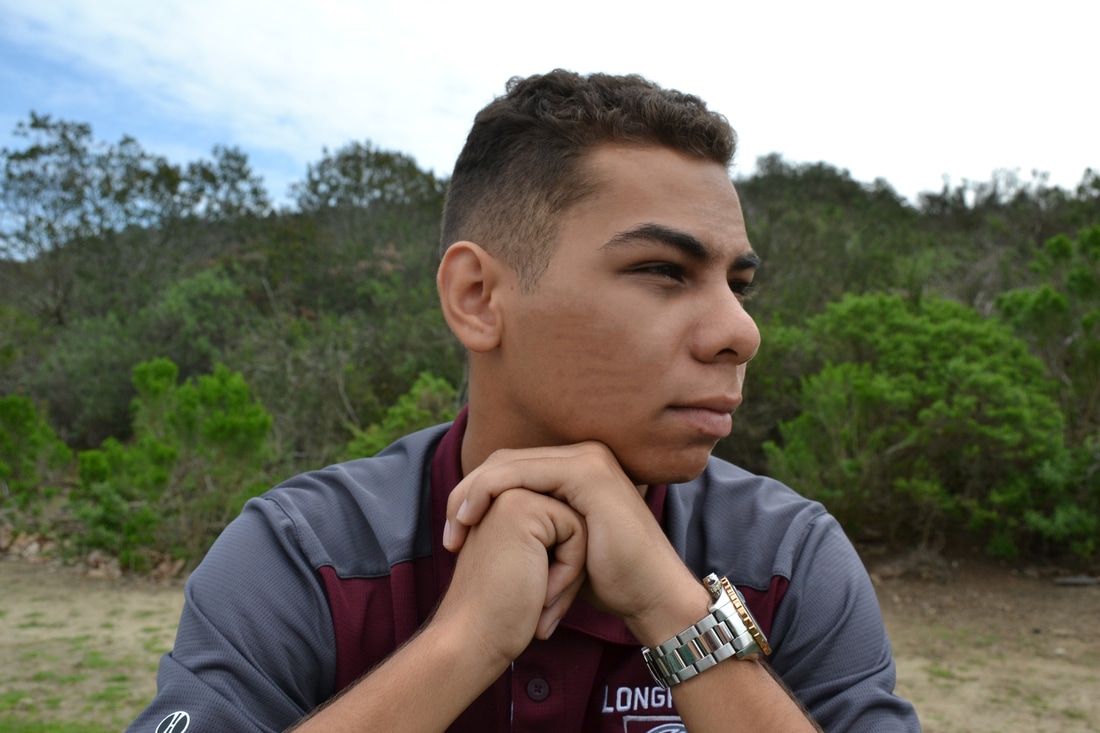 ISO 400, Aperture: f/8, Shutter 1/320 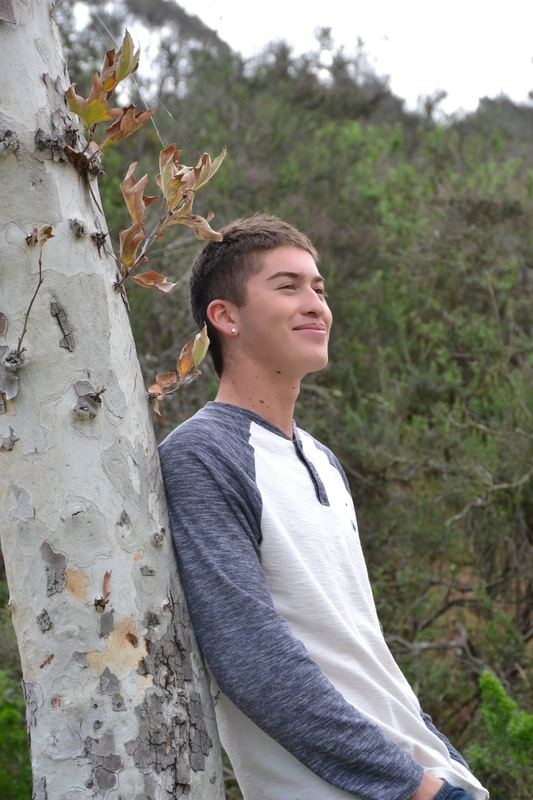 ISO 400, Aperture f/8, Shutter 1/400 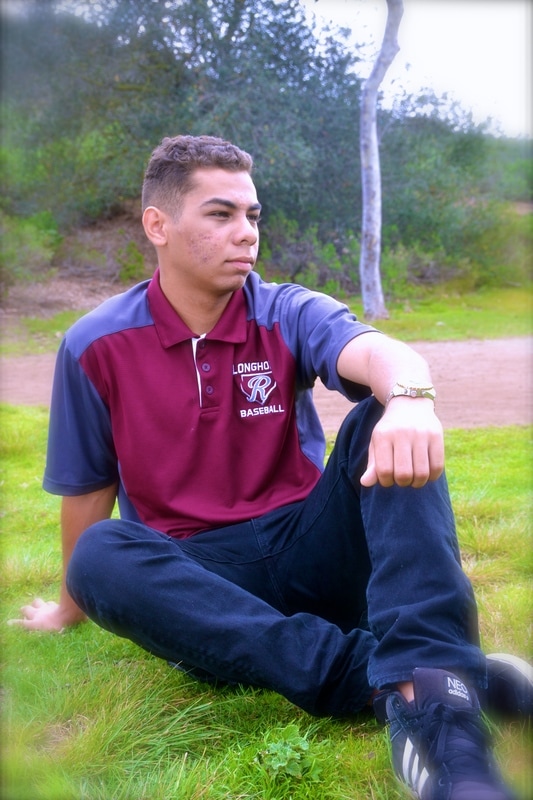 ISO 400, Aperture: f/8, shutter: 1/200  ISO 400, Aperture: f/8, Shutter: 1/500 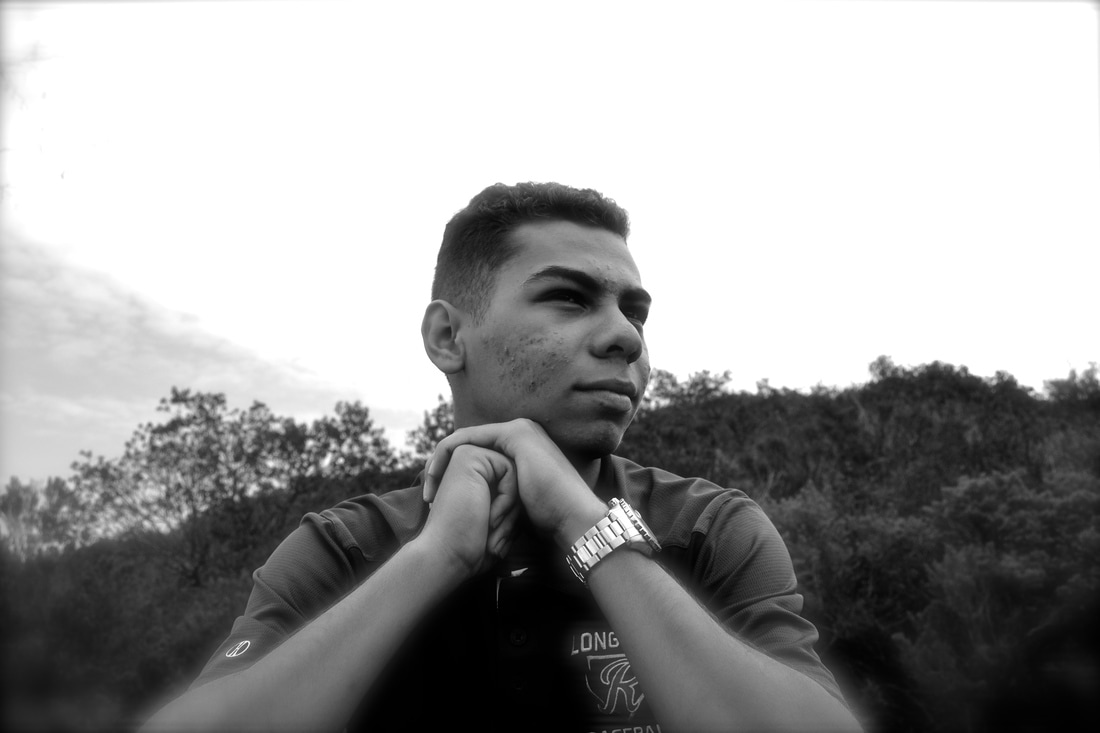 ISO400, Aperture: f/8, Shutter 1/800 In this project I learned that the background is important and if theres anything in the background like a trash can then the picture is rewined. There were multiple pictures where the background can impact the meaning of the picture giving it a certain mood. What made me decide on poses is what made people feel confertable because if people look stiff then the picture looks posed and unnatural. The reflector made the person look brighter which because of the weather made people keeping their eyes open difficult. I put a layer over the face so it would look smooth. Portrait photographers are used all the time from family pictures to your senior picture. The amount earned can be anything from 15-30,000 dollars.
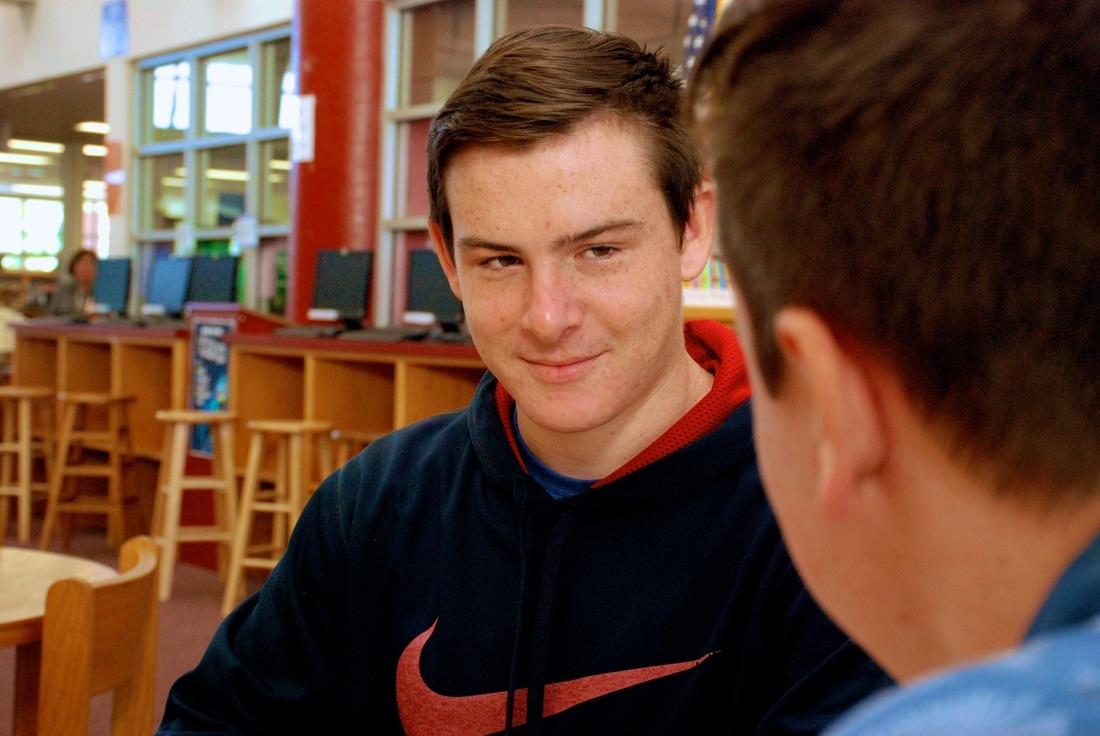 ISO 1600, Aperture: f/8, Shutter: 1/60 This picture may look like an ordinary picture of two people staring at each other. However this picture is not what it seems. ITs a picture of two brothers and in this case twins. Milo and Morgan have grown up living, learning, and growing together. These two in this picture have learned so much from school and each other. Growing up in school with a brother who looks just like you seems difficult but these two seem to make it work and pass with flying colors.
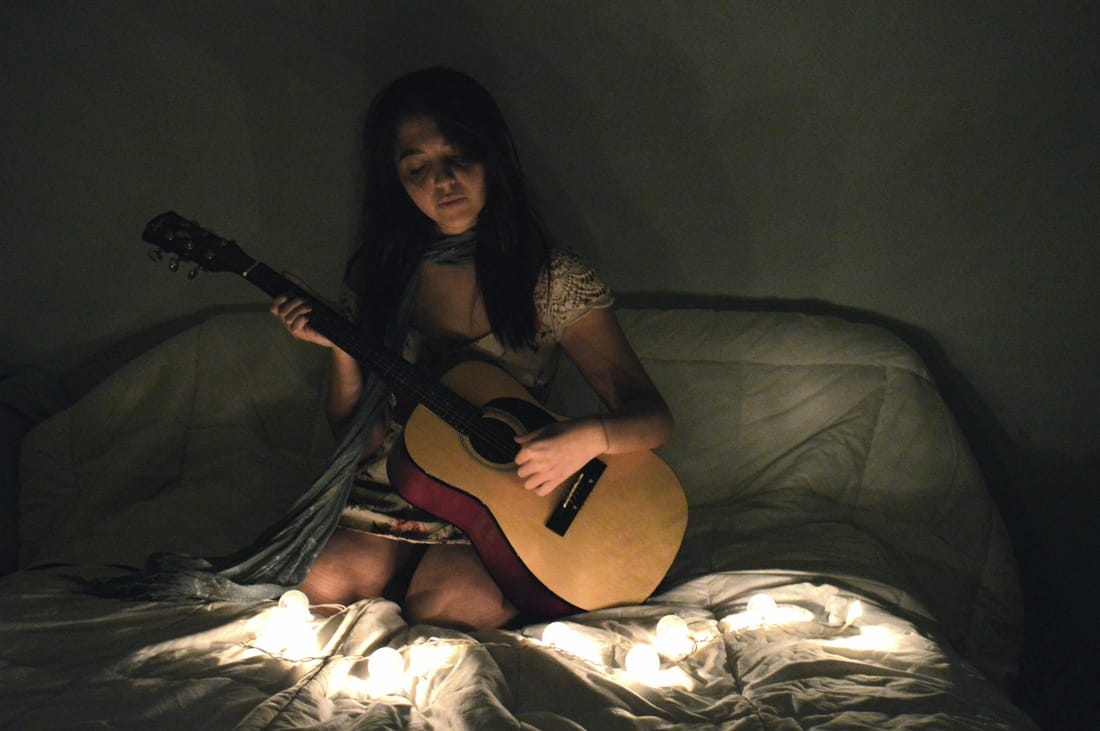
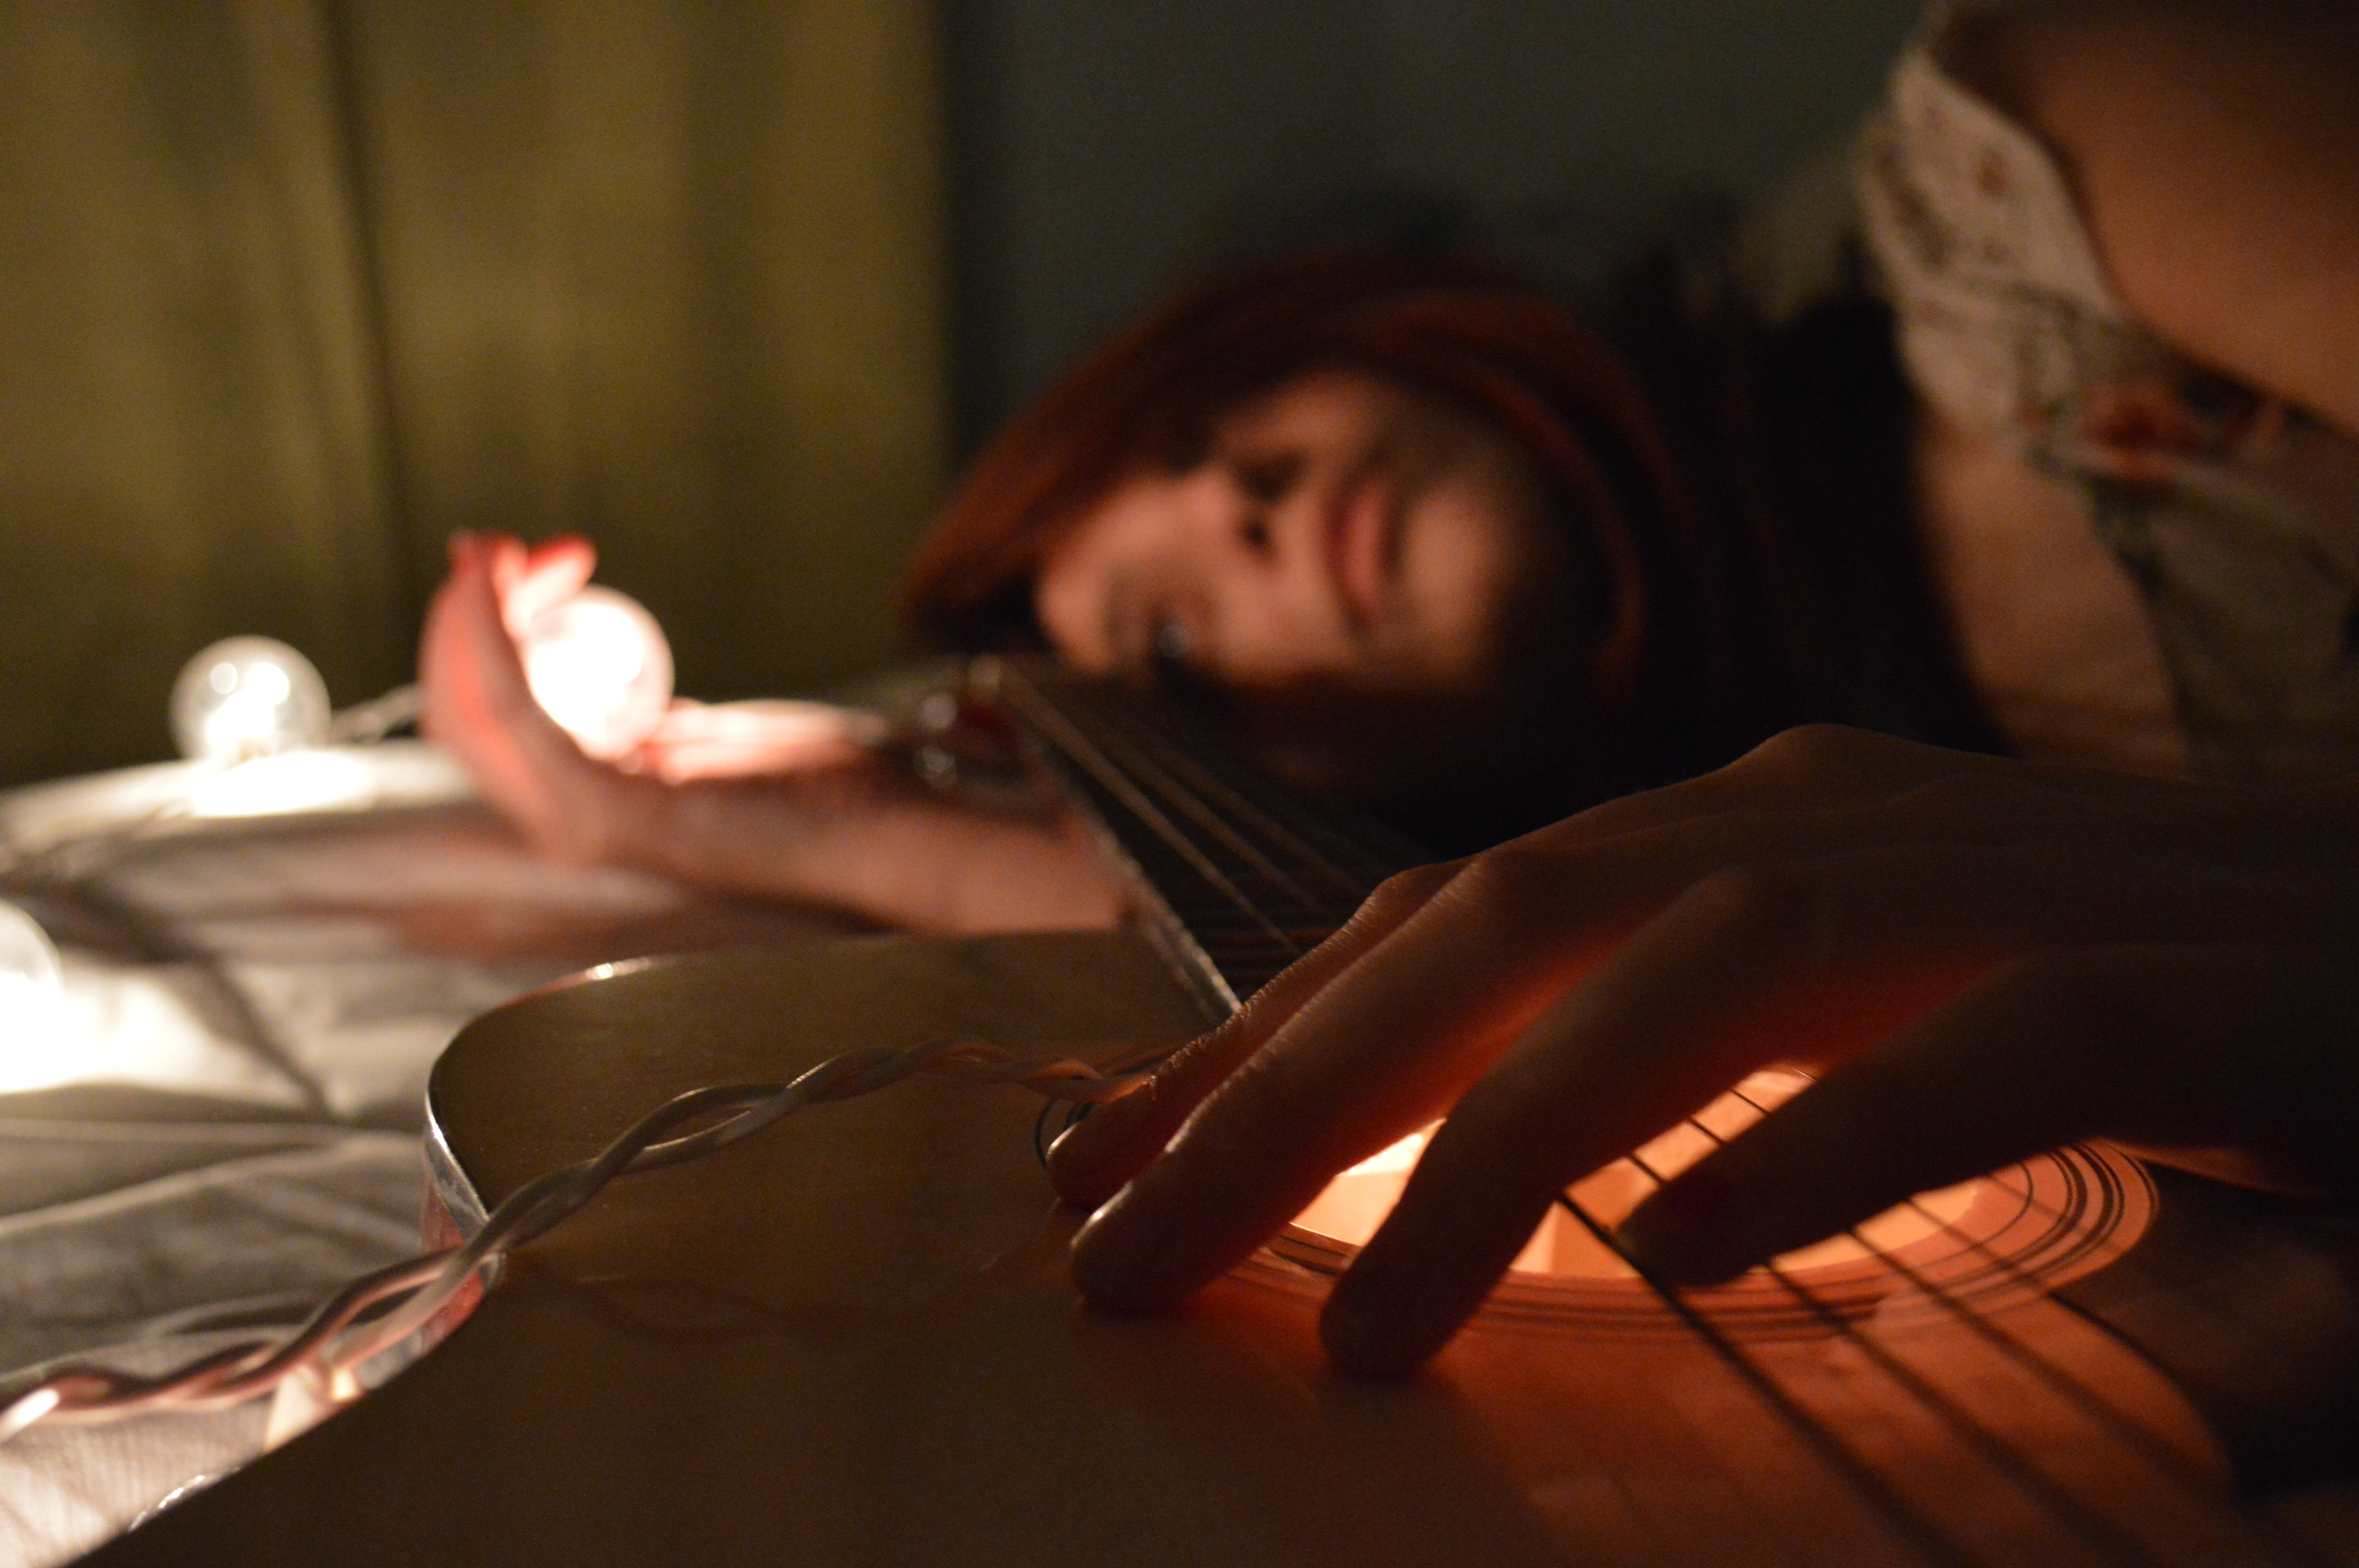
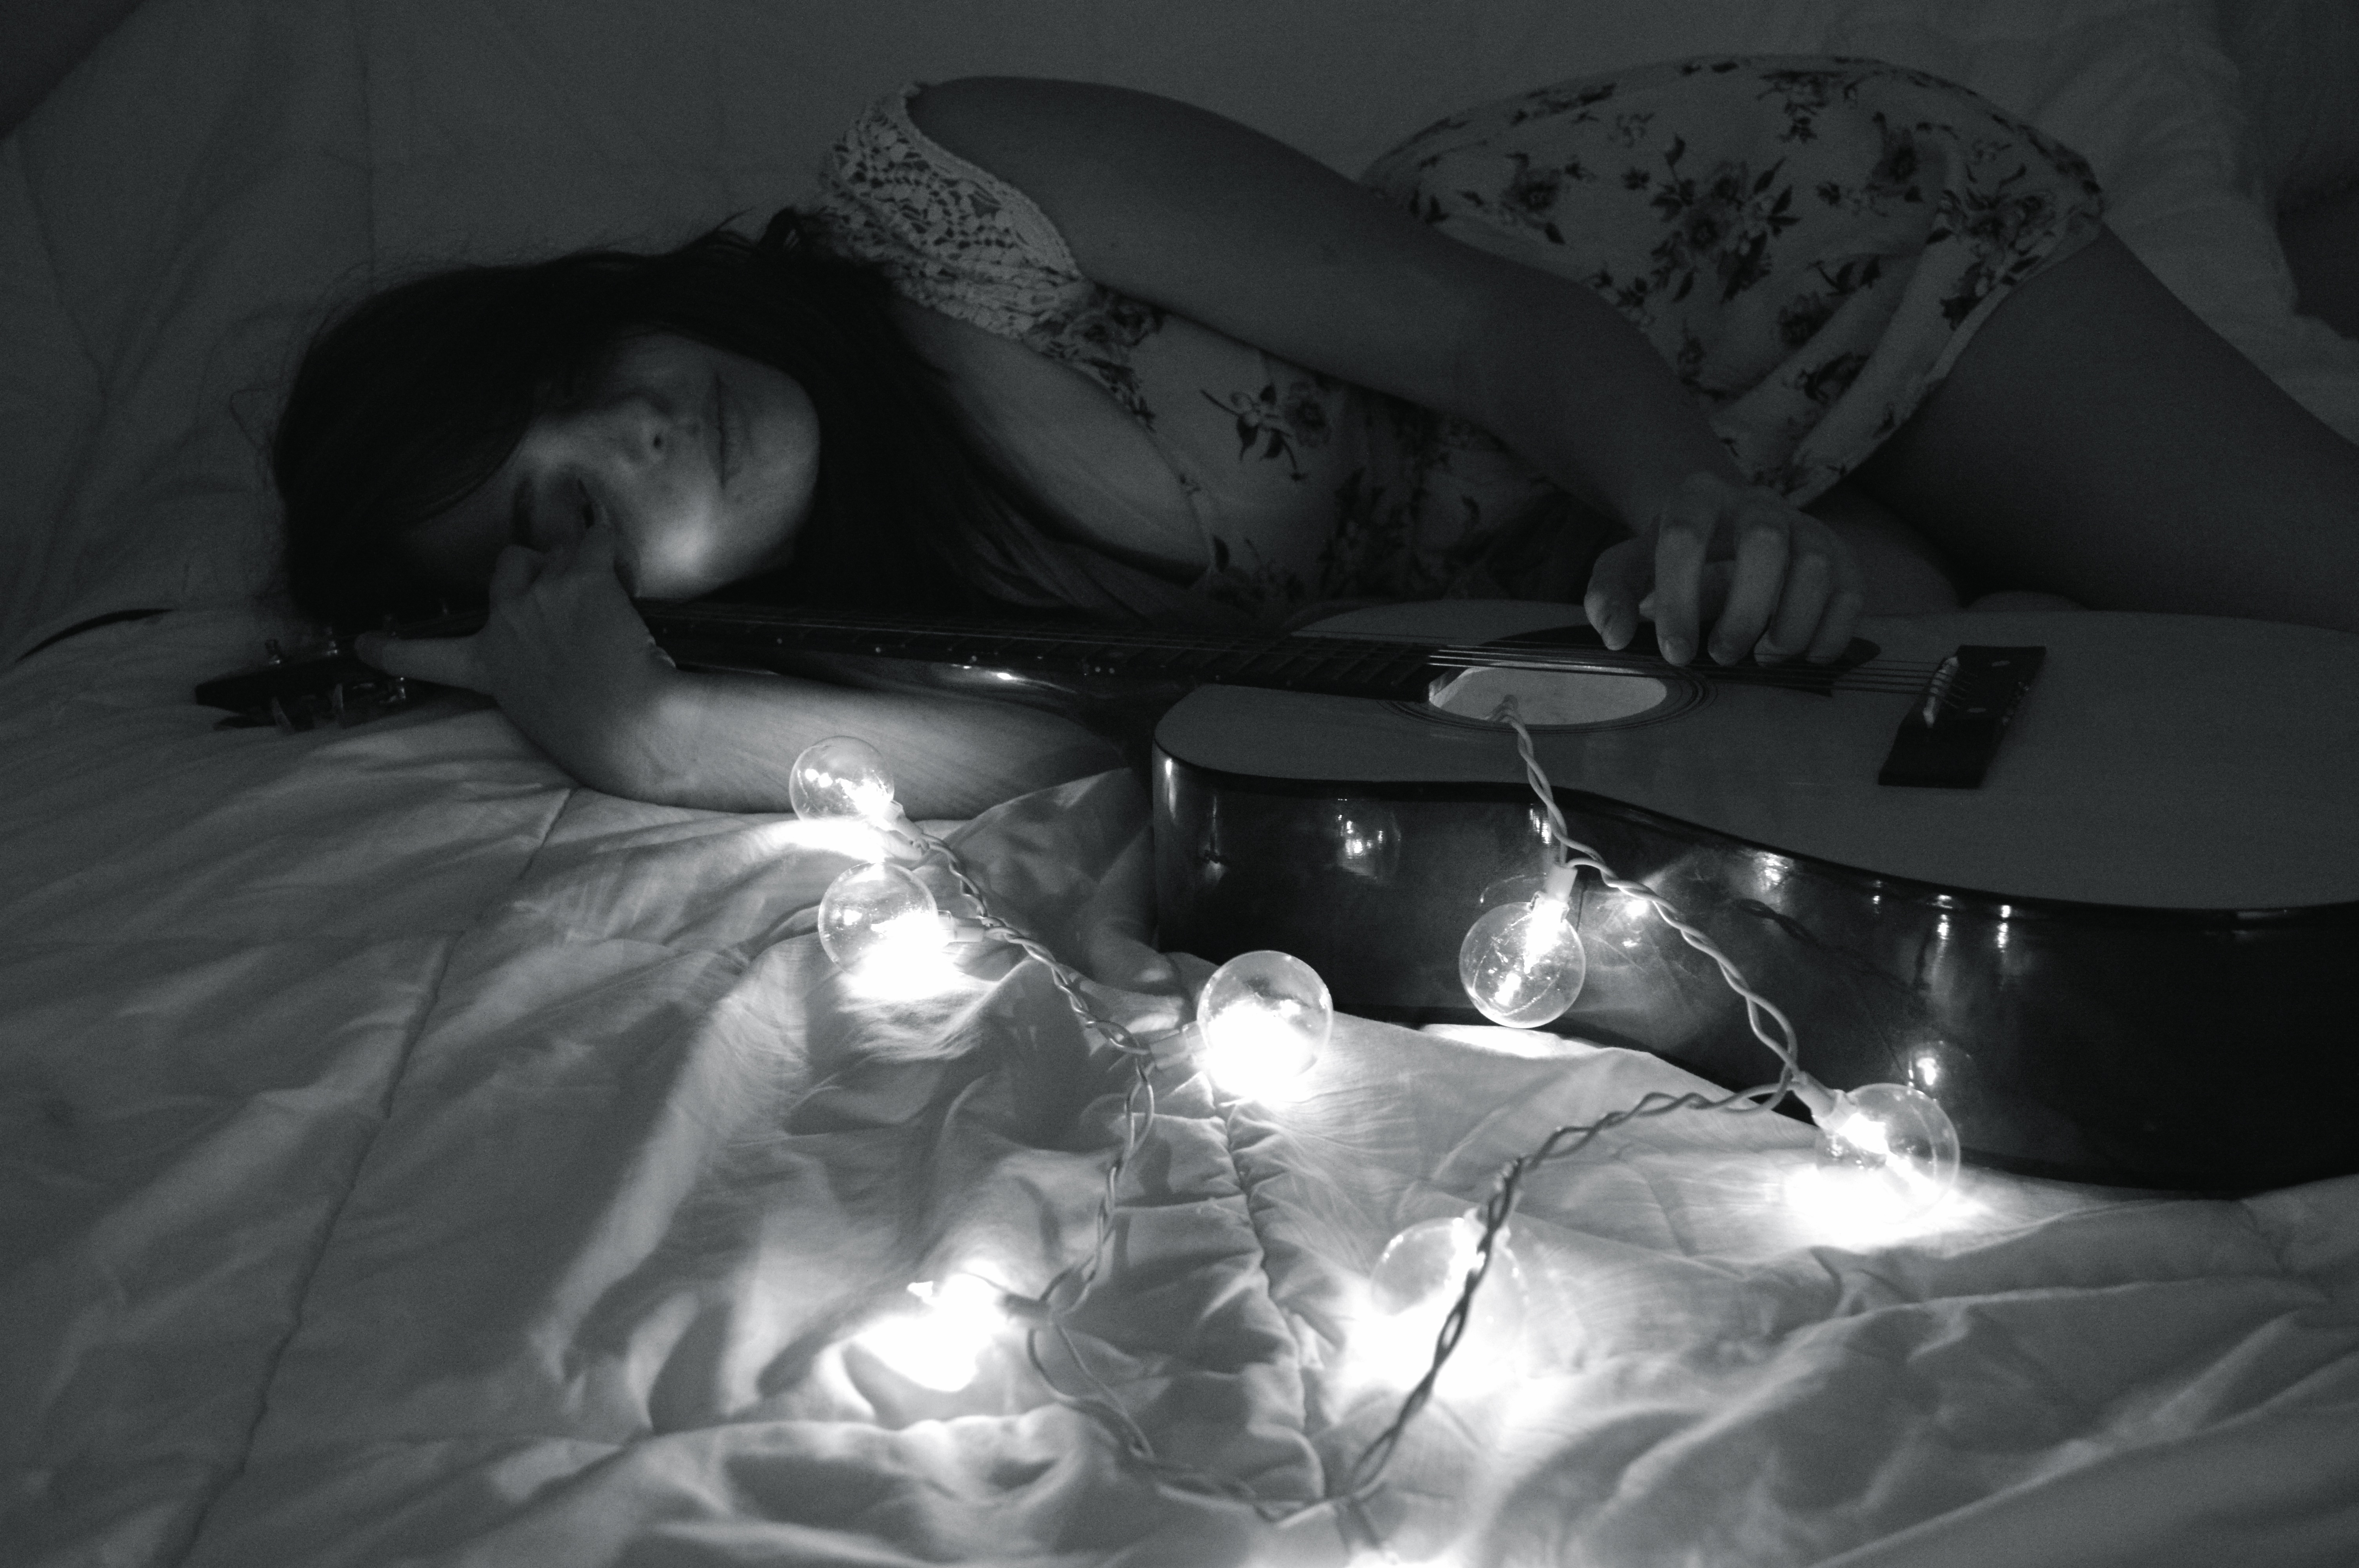
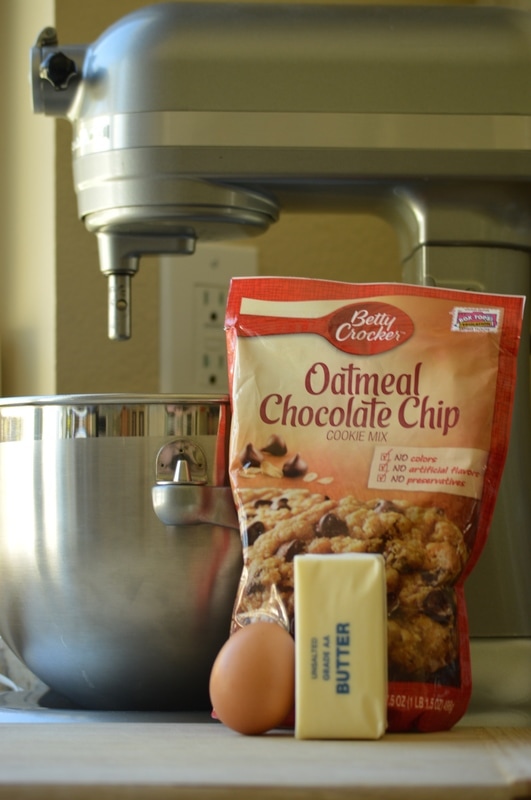 Preperarion ISO 200, Aperture: f/4.2, Shutter: 1/25 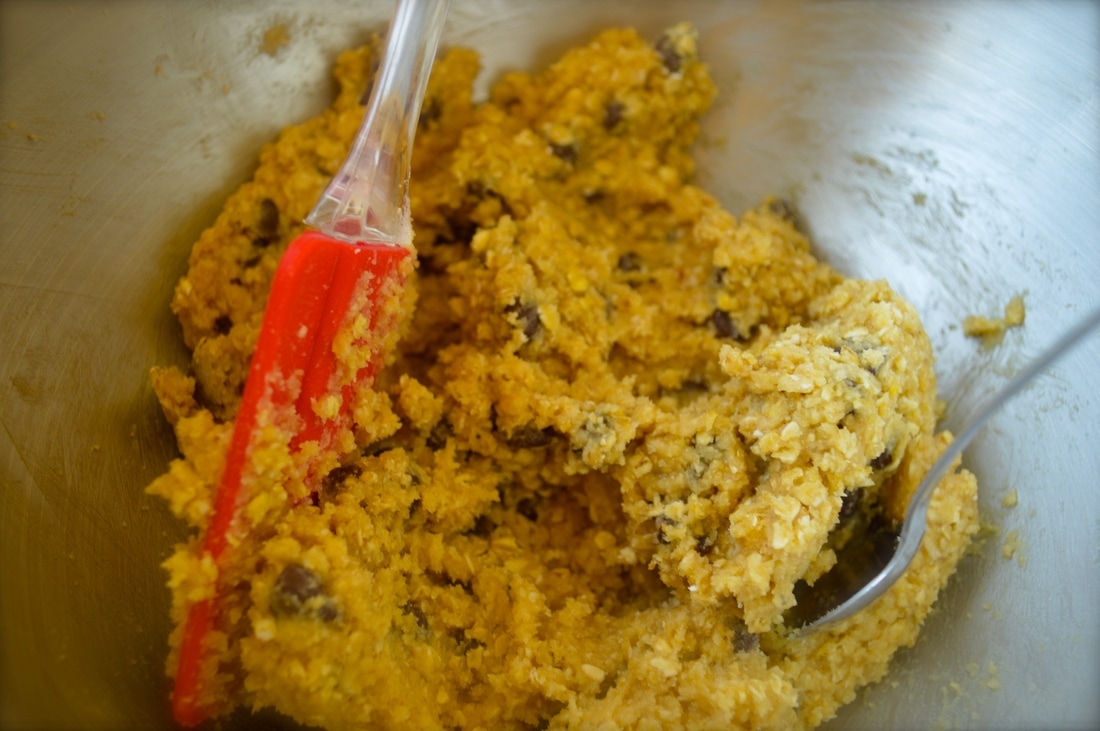 A Little Bit of Love ISO: 200, Aperture: f/4.5, Shutter: 1/10 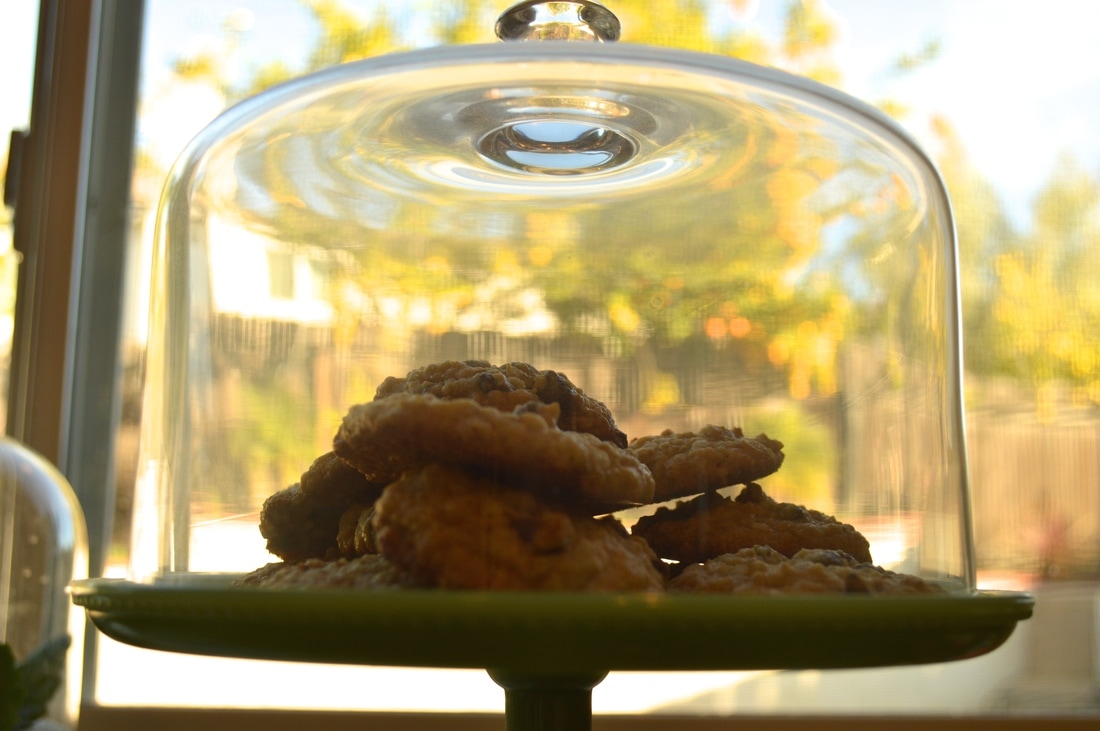 Fresh and Ready ISO: 200, Aperture: f/4.5, shutter: 1/125  Crispy as the Sun ISO: 200, Aperture f/5.6, Shutter: 1/1000 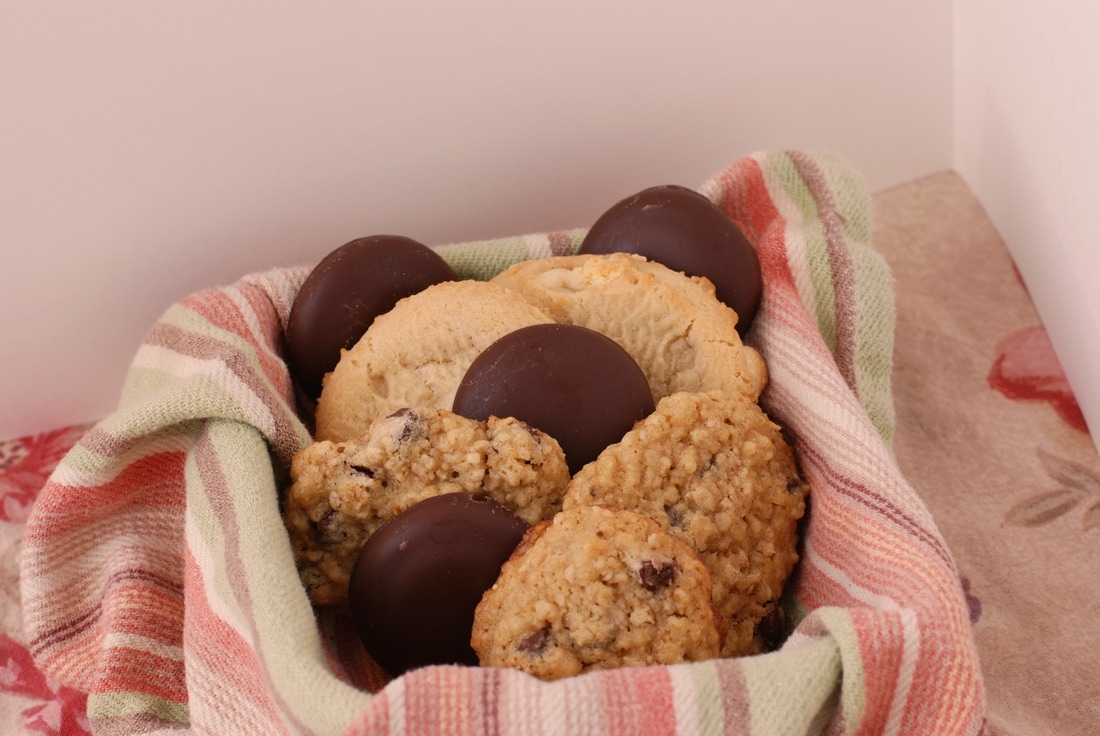 Ready To Eat 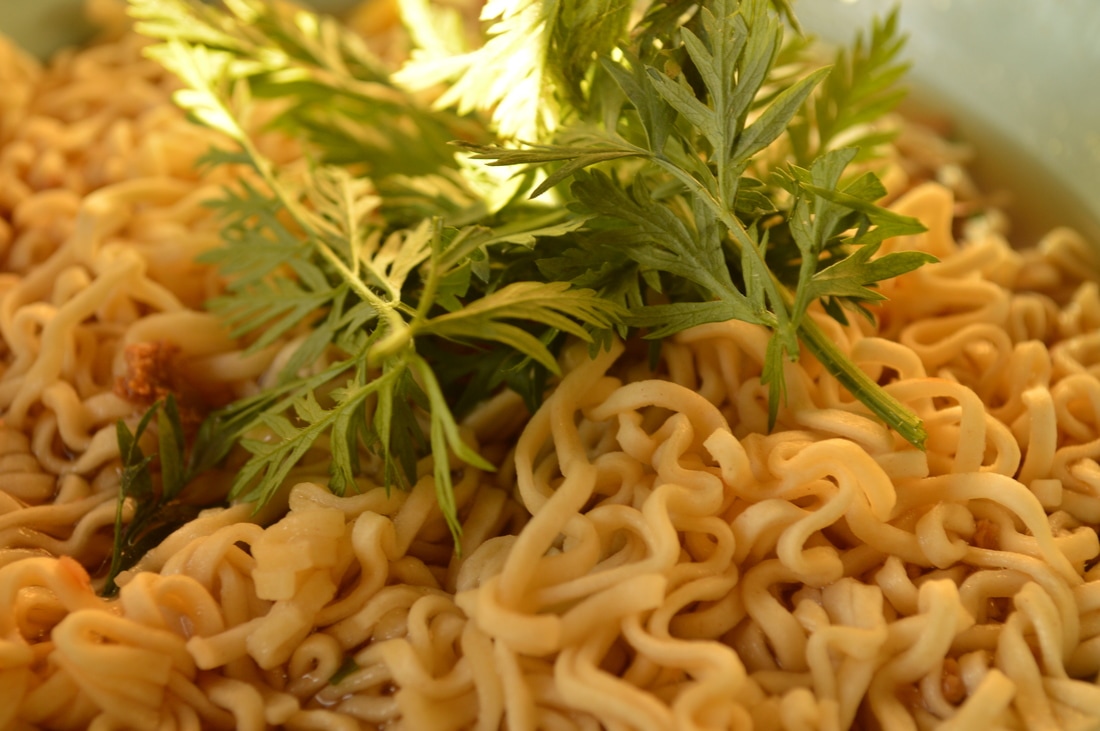 Looks Tastey ISO 200, shutter: 1/50, Aperture: f/5 In this project I took pictures of noodles and cookies which gave more of a variety to my project. What I learned from the video was how you could make things look cold and how food should be positioned to look good. What I used to make these look special was the positioning of the light and using the reflectors. The way I made this picture look similar to pictures on line was by putting the cookies on a cookie platter with the light showing through the glass. For this project I learned about reflectors, angles, set up, warmth of a picture, lighting, and props and how they are all important.
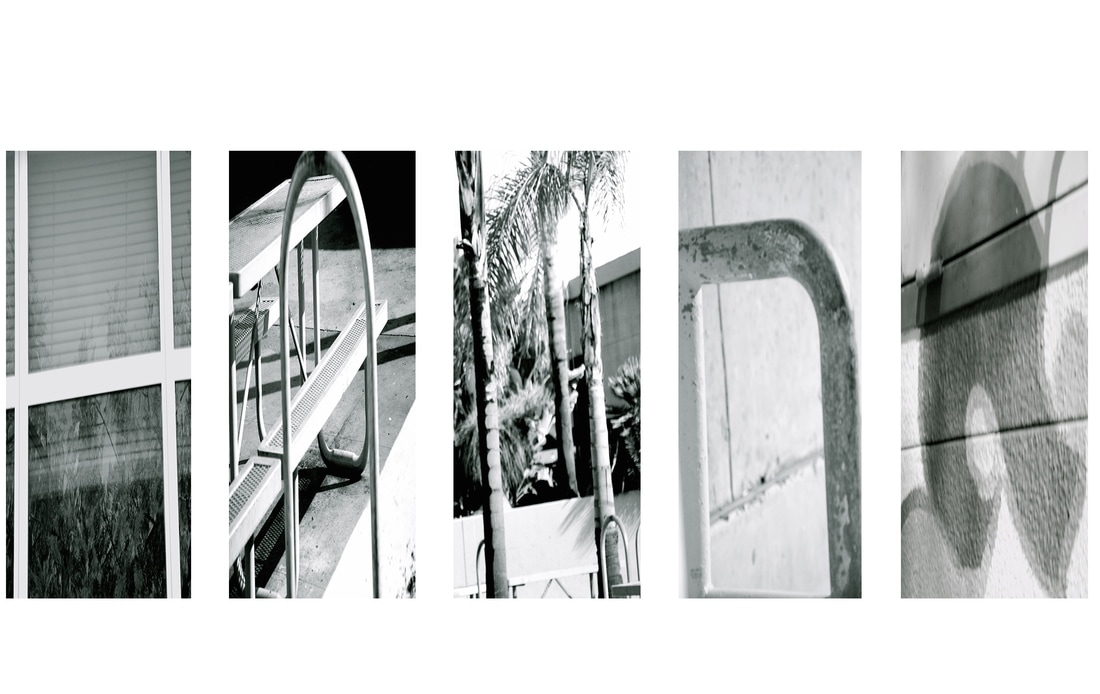 In 231 common i found a template for a five letter name and then I dragged my letters into photoshop and divided each letter.. Creating the sheet was a little confuse but helpful because Ms. Moncure made a template. For this project I had to put my mindset of just looking for letters which is card when there are so many things around campus. I was proud of the letters I found and how creative I got when shaping the letters. My favorite part about the artwork was the finish product because watching it all come together was fasinating. In this art work I could have incorperated more color so that its not as dull.
Layer MaskCareer: In this photograph I present myself as a Registered Nurse in ten years time. This picture was difficult because my face is smaller to hers so it made it difficult to fit my face to hers also her skin tone was darker than mine so that is another difficult trial I faced while doing this project. Anyways this photo of me in in ten years is at Keizer hospital after I have paid off all my schooling and accomplished my dream of helping people while still being paid well. The location I would like to work in is the ER because it is fast pace and you see so many different people. I plan to succeed by getting my foot in at Tri-City because I intern there which gives me the opportunity to meet the doctors and know the environment.  Celebrity: In this photograph I am a celebrity walking across the red carpet in a beautiful dress. This picture was a little bit more difficult for me because finding a face to put my face on with someone with the same skin tone was a difficult match. Also trying to get a picture that was not pixelated is very important because it just makes the person look like they have a lot of freckles. This actress from modern family is showing off her new designer dress to celebrate the new premier. This beautiful dress gives her skin tone the brightness it needs to show off her skin tone. 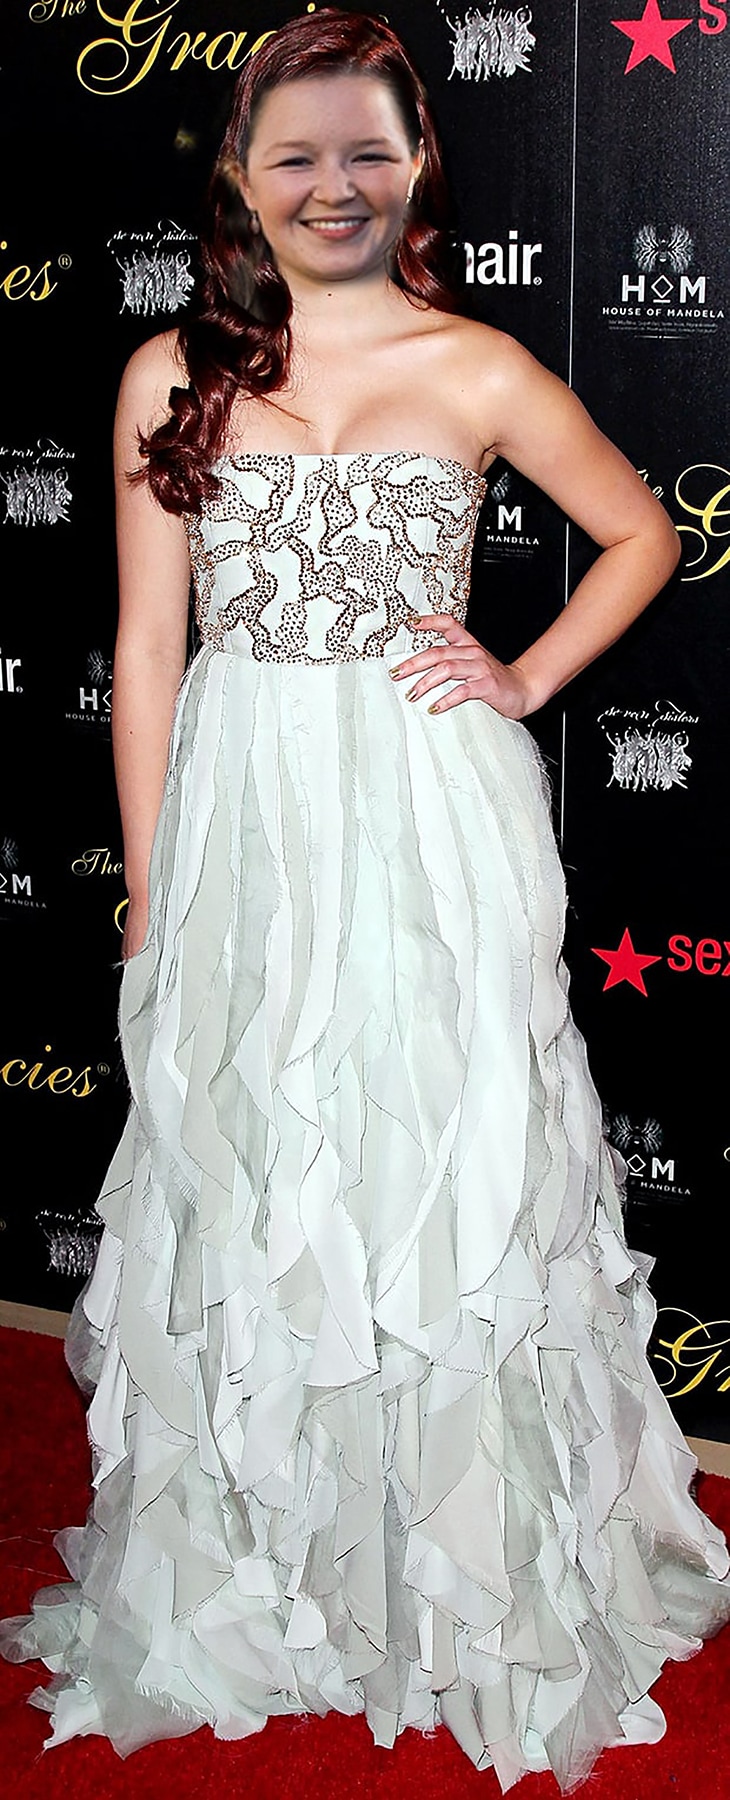 The first step to this project is to find a picture of you online and then find a picture of yourself to put your face on. Then when you have both pictures on photoshop you need to size the main picture hight:12 and quality 300 which will make the picture a good size. For the picture with just your face you need to do the same quality and the size should be 3 because your only using your head. Then use the lasso tool to cut out your head and the select to drag it on to your body. Then go to the square on the right side with a circle in it to add the layer mask. then you can do all the tinkering from there when it comes to matching up the picture and dont forget to save in jpeg to edit if needed later.
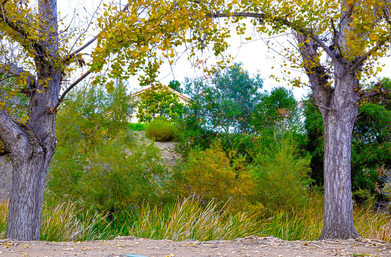
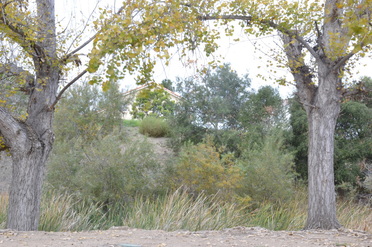
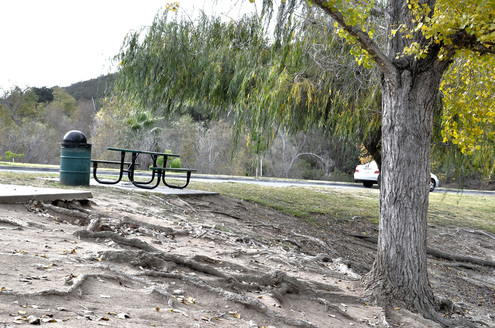
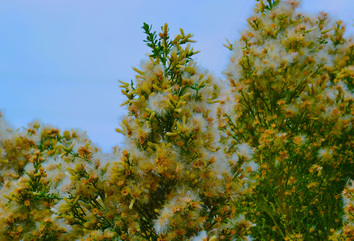
I created my HDR photograph by using a tripod to take five of the same photos but changeing the exposure compensation 2 dials down, 2 dials up, and one at 0.0.. Then I uploaded the pictures and put 5 of the same picture into photoshop so that they would all blend together in to one picture. Then I changed the different exposures and highlights to make the picture brighter in color. HDR stands for high dinamic range and is usually used in camer phones.
|
Hanna LykensHello citizens of the world... Archive
June 2017
Categories
|


 RSS Feed
